
When you think of raviolis, what do you think of first? Do you think about that red can that contains little square raviolis filled with meat and/or cheese or something that looks more like bean dip, covered in a delicious red sauce that is my guilty pleasure? Well, then, look no further (through this post, that is) because this is NOT that recipe. However, I would like to know if you have an extra can of that stuff you'd be willing to spare. It's been a while..
But if I were to ask what you think of when
I say home-made raviolis, would the image be different? I'm
going to guess that the first word that comes to mind is “work”.
Well, I will have to say that anything that is really worth eating is
going to take a little work, but do not be fooled – these raviolis
are simple enough to make that I would suggest them to anyone who has
the ingredients. And the best part about this too is that the recipe
is super versatile and you can change it up to whatever your
preferences are. Don't like meat? Great, add extra mushrooms. Don't
like cottage cheese? Just replace it with some pesto. And if you
don't like raviolis? Well, then too bad. (However, the filling recipe
can be used in lasagna and the dough recipe can be used to make just
about any kind of pasta!)

Now, like I said, raviolis aren't all
that time-consuming or difficult as they are finicky. You have to
make sure that you don't roll the dough too thin, or too thick and
you also don't want to over-stuff or poorly seal them. But do not
fear! These are all very simple detours. If you don't try and rush
things and just be a tad careful you will surely come out with some
beautiful raviolis.
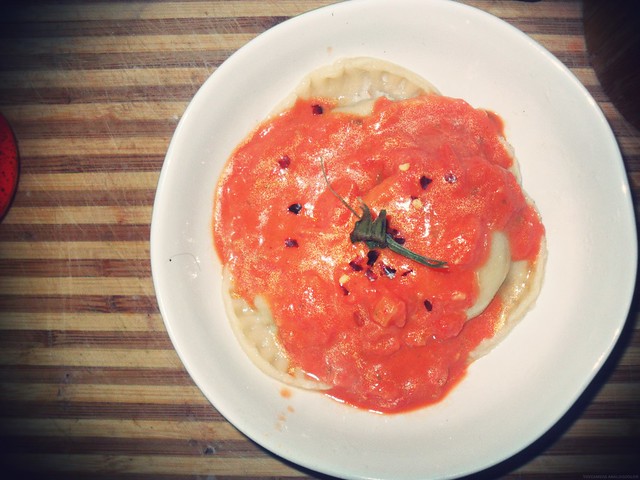
Also, quick note. I'll be posting a
homemade sauce recipe soon that is great with these, but they will go
great with any sauce you like. I've found that the filling pairs very
well with pesto or a light marinara.
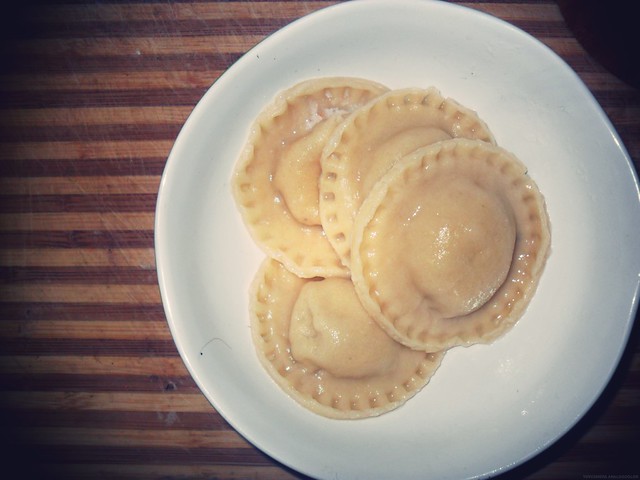
fresh raviolis.
makes 30-40 small raviolis or 20-30
large raviolis
filling:
1 lb lean ground beef
1 egg
1 egg
1 cup whole milk cottage cheese
½ cup Parmigiano-Reggiano or grated Parmesan
½ cup Parmigiano-Reggiano or grated Parmesan
2 hand fulls of fresh spinach,
chopped
2 large white mushrooms, chopped
1 tbs minced garlic
¼ cup minced yellow onion
¼ tbsp crushed red pepper
½ tbsp dried rosemary or 1 ½ tbsp fresh rosemary
1 tsp salt
2 large white mushrooms, chopped
1 tbs minced garlic
¼ cup minced yellow onion
¼ tbsp crushed red pepper
½ tbsp dried rosemary or 1 ½ tbsp fresh rosemary
1 tsp salt
Coat a saute pan with olive oil and
bring to medium heat and saute onions, garlic until translucent. Add
the chopped spinach and mushrooms until both are wilted; place into a
large bowl. Bring the heat up to medium-high and add the ground beef,
spices, and salt. Brown meat, drain fat and allow to cool. Make sure
that the meat is thoroughly broken apart before adding it to the
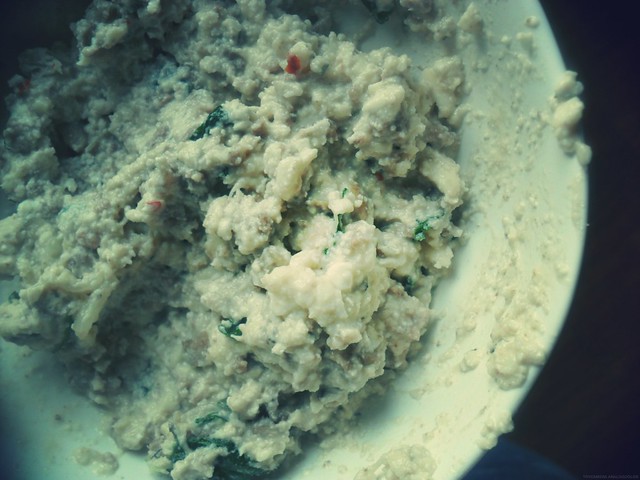
bowl. Add the egg, cottage cheese, and Parmigiano-Reggiano
to the bowl, and combine until the mixture is uniform.
Use immediately, refrigerate
for up to a week, or freeze for up to 3 months.

pasta dough:
2 cups of semolina flour
1 egg
½ tsp salt
1 tbsp olive oil
2-3 tablespoons of water
flour for dusting
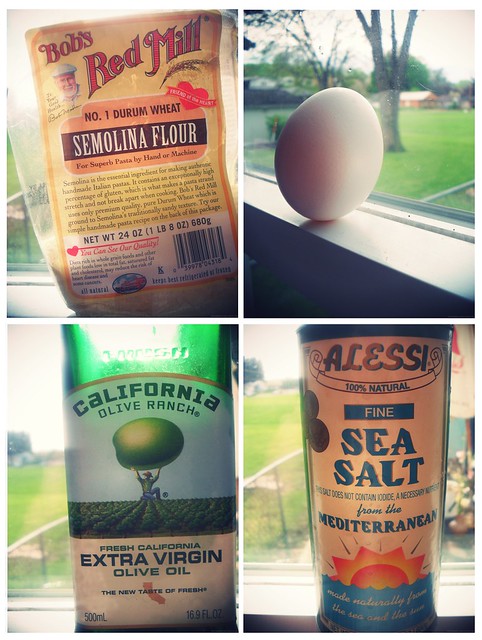
In case you were wondering, semolina
flour is made from durum wheat which is the main ingredient that
you'll find listed on most of your boxed, dried pastas at home. It's
a coarse flour that you will also find in couscous, which is one part
semolina and one part durum flour (finely ground semolina). Apart
from the semolina, the rest of the ingredients to this recipe are
very common in just about every kitchen.
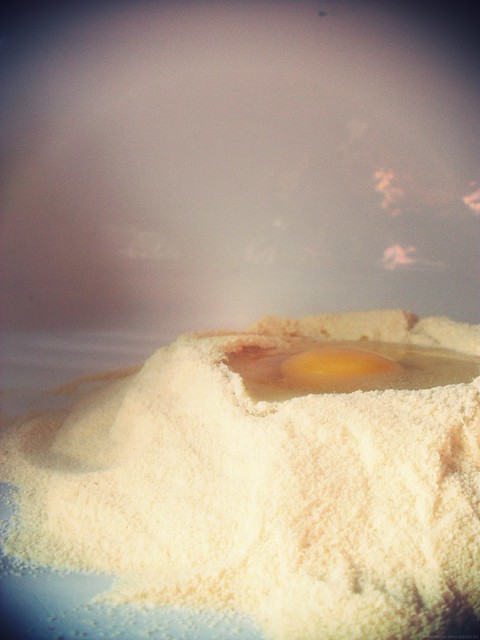
This first step I like to refer to as building the egg's nest. First, will scoop out the semolina flour onto a large, dry surface and sprinkle the salt over top of the flour. Then, with either a fork or your fingers, make an indention into the flour deep enough to fill with the cracked egg, olive oil, and about 1-2 tablespoons of water.
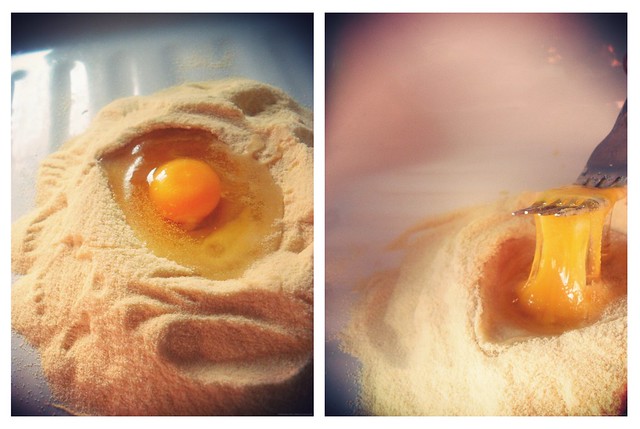
Once you have filled the well with your ingredients, you need to beat the egg, oil, and water together inside the well until it's well mixed and begins to grab onto the surrounding flour.
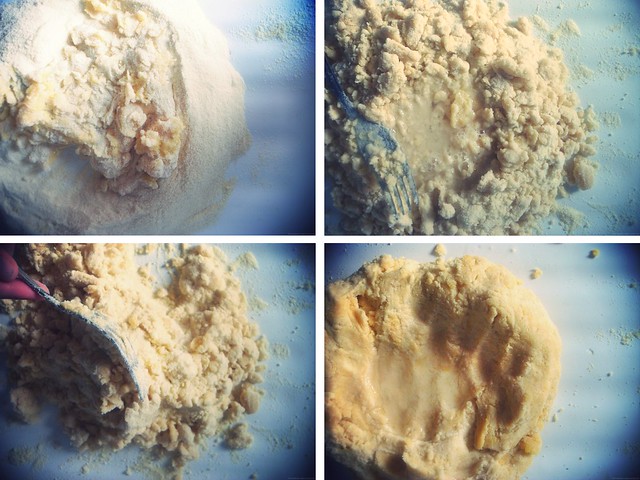
As you continue to mix the dough, start incorporating more water into the mix, about a teaspoon at a time so that the flour begins to fold into itself. Now you will begin to see something that has the resemblance of dough! Congratulations! Now that the dough can be easily handled with your hands, you're going to want to knead it for about 10 minutes, until it is nice and smooth. This process will help your pasta cook up nice and al dente, instead of being all soggy. And there really is no “right way” to knead. Just keep the dough moving; push it, pull it, smack it around and show it who's boss.
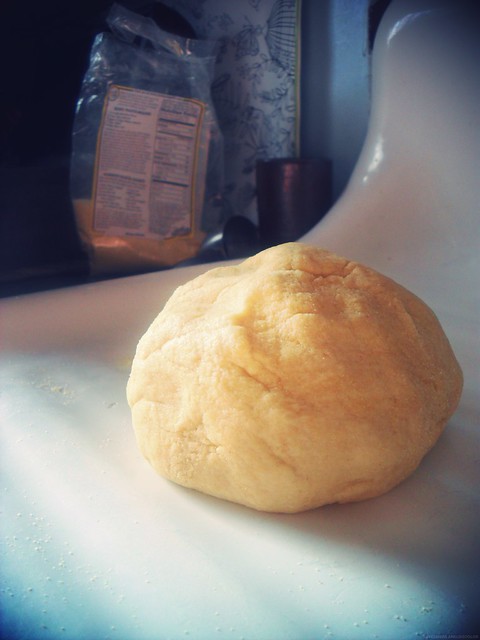
Now that your dough is all smooth,
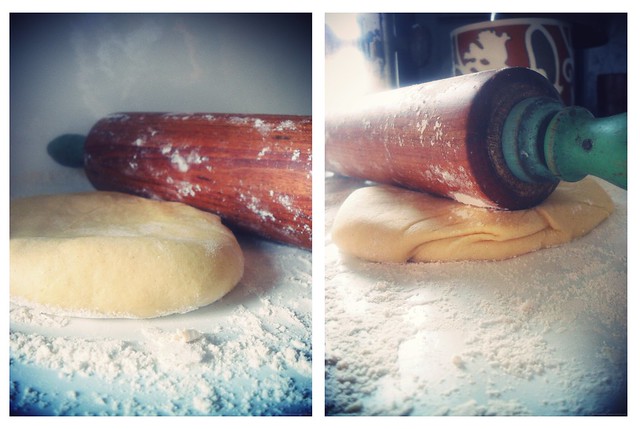
uniform and compliant, allow for it to rest for about 20 minutes. And after giving it that 20 minute
break, we're gonna beat it some more, but this time with a rolling
pin! (However, if you have a pasta roller, kudos to you! Go right
ahead and use that, but make sure that the settings are set to where
your pasta won't be rolled out too thin or thick).
I'm sure you're wondering about how to
roll out all this dough at one time. Well, if you have a long
hand-less rolling pin and tons of space, you should be able to roll
out all of this dough at once with ease. However, if you are limited
with space and have a traditional rolling pin, you will want to
separate the dough into 2 or 4 different pieces to work with at a
time.

Lightly dust the area you'll be working
on as well as the top of the dough before you begin rolling. You also
will want to make sure and flip the dough two or three times while
rolling it out, to make sure that it is not sticking to the surface
you're working on. Keep in mind that you're going to need to roll
the dough out thin enough to where you'll be able to press together
the rims of the raviolis, but thick enough to where the tops won't
rip and allow filling to come out. To test this, your dough should
have had the time during resting to develop enough gluten for the
window-pane test. If you can see light coming through a rolled-out
piece of dough that is stretching and not ripping, then you're good
to go. Also, you can use a ruler to press the edges of the dough
while rolling it out, or just cut the finished product to have
straight lines. I prefer the latter for this occasion.
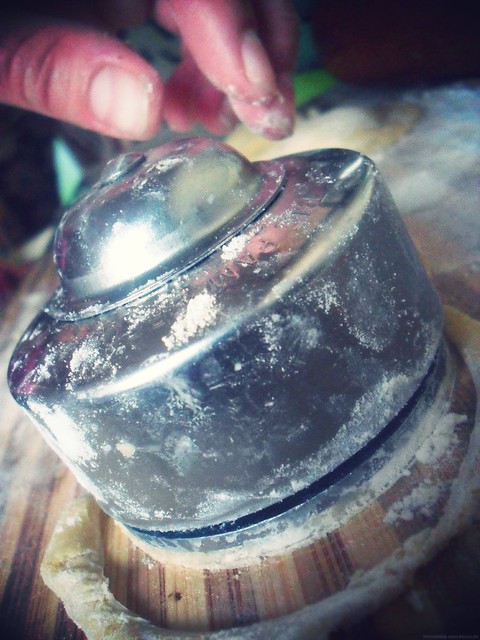
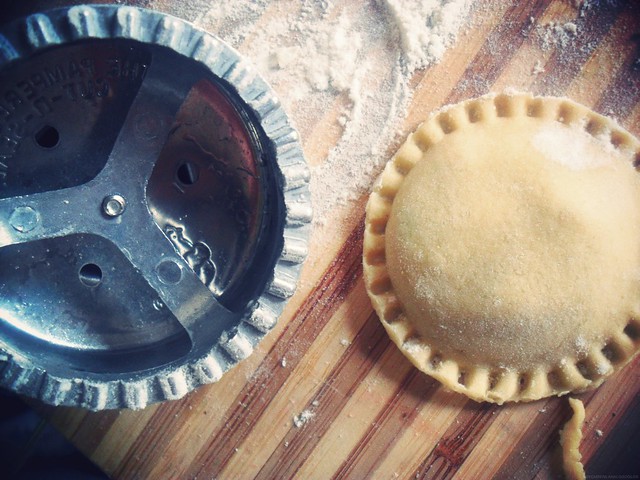
Whether or not you use a press to seal
your raviolis or you choose to use a fork to make the seal is up to
you. However, I had not had the opportunity to use this little gadget
that I've had stowed away in my cabinet for a while, so I decided to
give it a whirl. Whichever method you choose, you will still follow
the same steps that are to follow.
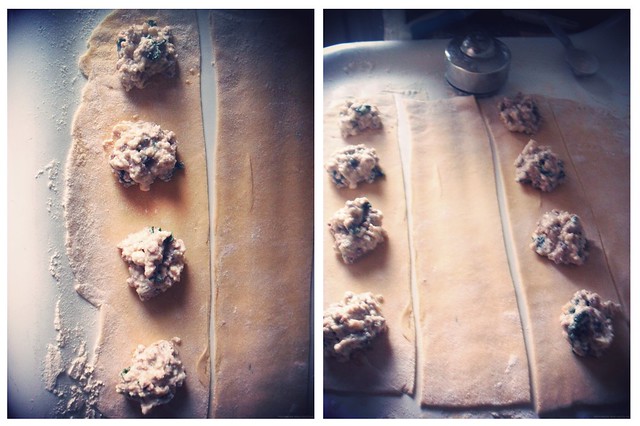
Flip your dough so that it is wider
than it is tall. Depending on either how big your press is, or how
big/small you prefer your raviolis, you will need to cut an even
number of strips according to the previously determined dimensions.
Once this is done, you can begin ladlin' in that delicious filling!
And the same carefulness you took
rolling out the dough should be taken when filling your raviolis. You
don't want to over-fill your raviolis, or the filling will come
through the seams during boiling (or before), and you don't want to
skimp too much on the filling, or you will have a ravioli that is all
pasta and no filling. And if that's what you want, then why are you
making raviolis?! Also, I found that the most streamline way to make
these is to put filling onto one strip of dough, then skip a strip,
then fill, etc. This way, you can just bring the top strip right down
to the filling-topped dough with ease.

Once you have
filled up all your bottom layers, lay out the top layer of your dough
on to it. Don't worry if it doesn't fit exactly,
you just need to make sure that you can press the two strips together
without any filling coming through. Start from the middle and work
your way out. You don't want to leave air pockets where there should
be filling. I like to sort of wrap my fingers around the filling and
begin pressing there, making sure to push the dough outward in order
to get rid of those sneaky little spots. From the middle, make you
way to the edges of the strips and push them together with your
fingers.
After
making sure they're properly sealed, your raviolis should begin
looking something like... well... raviolis! Now, depending on whether
you're using a press or not, you will follow either Step A (press) or
Step B (fork). If you have a fluted rolling pin, however, you can just use that.
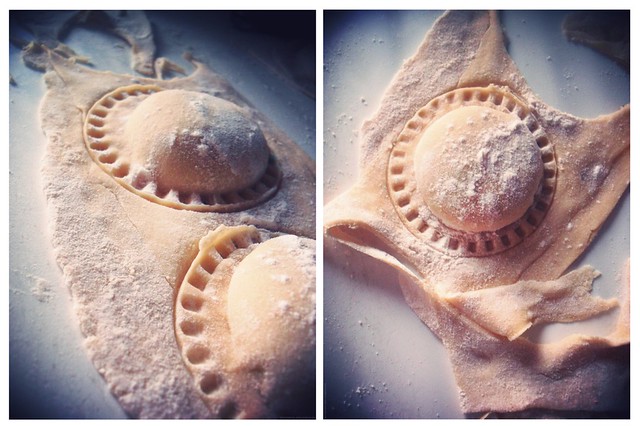
Step
A will not require any additional cutting unless you cannot get
your press to fully cut out your raviolis from the surrounding dough.
If this happens, just push the press down to where it would
cut, take a paring knife (or a
butter knife, or a steak knife, or an X-Acto-knife) and cut around
the edge until the dough is completely separated.
Step B just means that you're going
to cut the raviolis out to size and then press together the seams
with a fork. You don't even really need
to use a fork, as long as the seams are completely sealed.

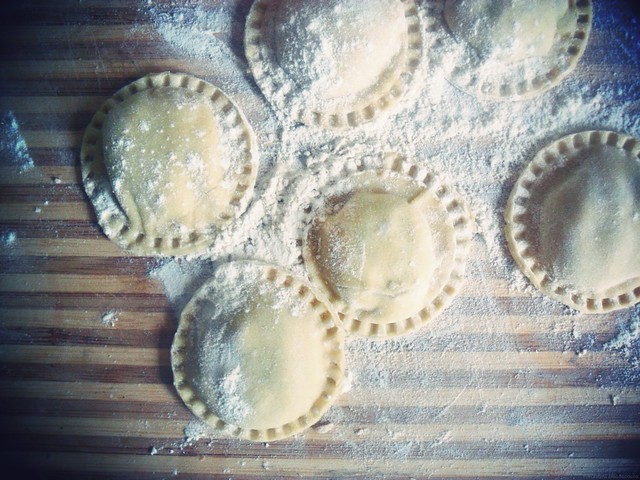
Now, don't worry
if you get past this step and you have a few raviolis that look a
little quirky. You will find that things begin to get
much easier after you have a feel for how much filling you actually
need. So, just repeat the previous steps until you have all your
dough filled. (If you decide to use the scraps to make raviolis,
which I do, you can dampen them with a splash of water, knead till
smooth, and let rest again for a few minutes before using again). And
don't worry if there's still flour covering your little masterpieces;
that'll come out in the wash.
Fill
a large pot half way with water, sprinkle in some salt, and bring to
a boil. Getting your water to boil at the right rate is also
important when making raviolis. Too hard of a boil, and your raviolis
will just fall apart; too soft and they'll turn to mush. You want
your water to be at a rolling boil, but just slightly below a hard
boil.. A medium-high setting on your stove should do just the trick.
Drop in 5-6 raviolis at once and allow to cook for about 3-6 minutes
or until al dente; make sure the raviolis do not stick to the bottom
of the pot. Cook time will depend on how big your raviolis are, as
well as how you like your pasta. If you over-cook them, however, they
will begin to fall apart. Remove your raviolis with a slotted
spoon and serve immediately.
And that's it! How simple, right? If you find that you're having trouble with any of the steps, post a comment and I'll be happy to help out in any way I can.
But until then, bon appetit!
2 comments:
Tried to leave a comment... anyway, great post!
My first comment did not appear. I said how much I love your photos too. Very nice, dear!
Post a Comment