When I started cooking breakfast this morning, I got this text from my sister, Amber...
"I'm comin' over. What are you making me to eat???"
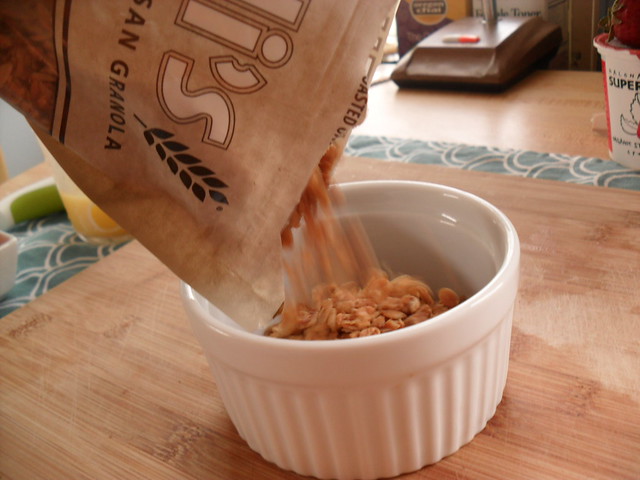
How did she know? Well, I guess she knows me too well to know that I've always got something going on in the kitchen. I told her 'of course' and to come on by. I'm always down to cook for company. Since these they are always fun to make for people, I decided to make a simple parfait to start off. As long as there's some great fresh fruit, granola and a good yogurt involved, I'm all for it. This time I've added a little something extra.... Some agave nectar! This stuff is fantastic as a substitute for sugar or honey and it’s always a treat to find some in your parfait.
The granola I’m using is Udi’s Au Naturel, a whole grain oat caramelized with some wildflower honey. Delicious? Yes. And it’s got a great crunch and a simple flavor that pairs fabulously with some strawberry yogurt. When it comes to yogurt, any will do, but I prefer to use an organic yogurt and something of Grecian decent. Greek yogurts have a great flavor and solid texture which makes it work wonders in a parfait..
And here come’s Amber, just in time!
springtime parfait.
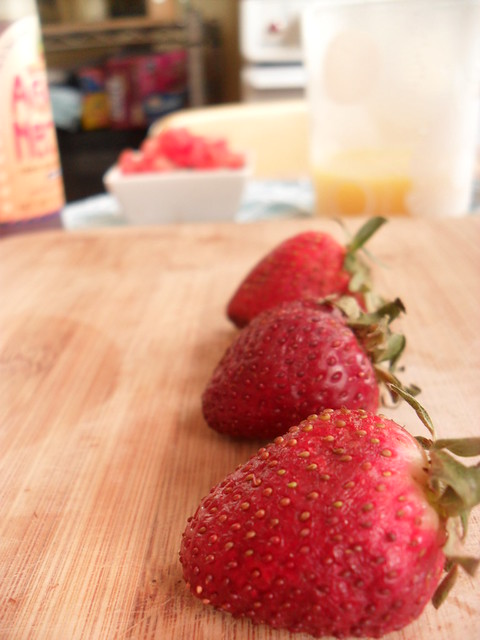
3 ripened strawberries
4-6 oz. strawberry Greek yogurt (preferably organic)
1/4 cup granola
about 1/2 tbsp of agave nectar
First, slice your strawberry. Slice 'em anyway you like!
Once they're sliced, just layer your ingredients; agave nectar, granola, yogurt, strawberries. That’s it.
That's why I just love parfaits. They're so simple, yet you can do just about anything with them. You can make your own granola to add to them, use a variety of different yogurts and fruits. It's easy to please the pickiest of eaters with this easy treat.
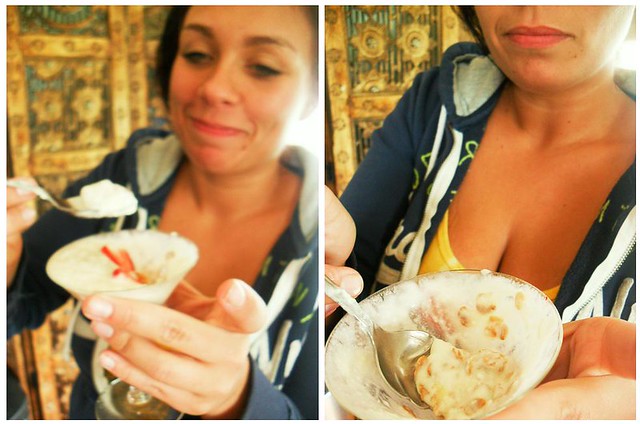
With that being said, let’s see what Amber thinks of it.
Now that she seems satisfied for the time being, what else might satisfy her hunger?
I actually learned how to make these things when working at the
Mid City Grill, here in Johnson City, TN. It's a late-night joint that serves up some delicious foods like biscuits and gravy, omelettes, tofu sandwiches, burgers, and GREAT hummus. When working there, I had a few loyal customers who would give me free-range to make them whatever I was feeling that night. A ticket would come in that said "
Sam Omelette". So by the time this became a routine thing, I began to learn what flavors meshed well together in an omelette other than your typical meat and cheese.
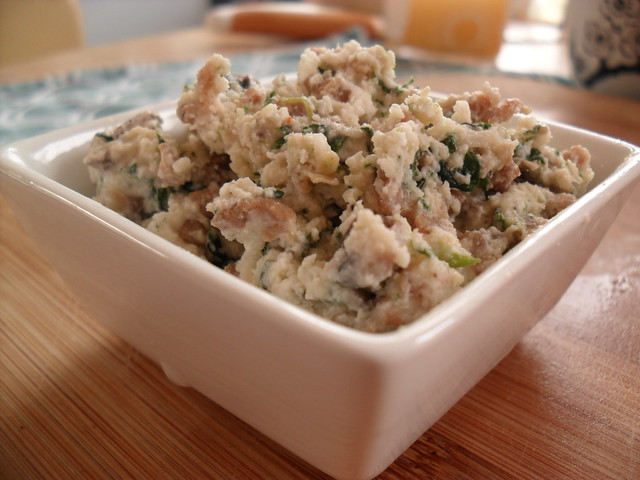
So this morning, we are actually going to use a filling that is from some homemade raviolis I made earlier this week (this filling is also great spread on some toasted bread if you feeling a bit like snacking).
italian sausage and spinach ripieno.
makes about 3 cups
2 handfuls of fresh baby spinach
2 large white mushroom caps
8 oz. of ground italian sausage
4 oz. goat cheese
8 oz. whole milk ricotta cheese
1/4 cup of grated parmesean
1/4 cup shredded italian cheese (asiago, romano, or blends)
1 tbsp. chopped fresh basil
1 tsp. dried marjoram
1 garlic clove
pinch of salt and white pepper
olive oil
*a good conversion method when it comes to fresh herbs - 1 tbsp. of fresh herbs = 1 tsp of dried herbs
Put your cheese in a large mixing bowl and allow to reach room temperature so that it is easier to mix. If they are not soft enough when it comes mixing time, just stick in the microwave for about 45 seconds or until malleable. Clean the mushrooms with a damp cloth (do not completely soak mushrooms; they will be come water-logged). Dice and set to side. Finely chop garlic clove and set aside with mushrooms. The best way I've found to skin a clove of garlic is to lay the clove flat and place the flat side of your knife on it, then with the heal of your palm quickly hit the knife, causing an easy break up of the skin and also a softer clove to more easily chop..
Place spinach in a medium saucepan and fill with water until covered. Sprinkle with salt and drizzle in some olive oil. On medium heat, cook spinach until wilted. Drain water and squeeze the excess water from the spinach and chop. Set aside.
Drizzle a medium sauté pan with olive oil and heat to medium-high. Throw in the herbs and the chopped mushrooms and garlic you had put to the side. Cook for about 2 minutes then add your 8 oz. of ground italian sausage. Cook until browned, drain and allow to cool. Place in the large mixing bowl containing your cheeses. Incorporate your spinach to the mixture and combine until you achieve a uniform mixture.
Finito! That's it!
Now that we have the filling finished, we're ready to start making our omelet.
omelet fresco.
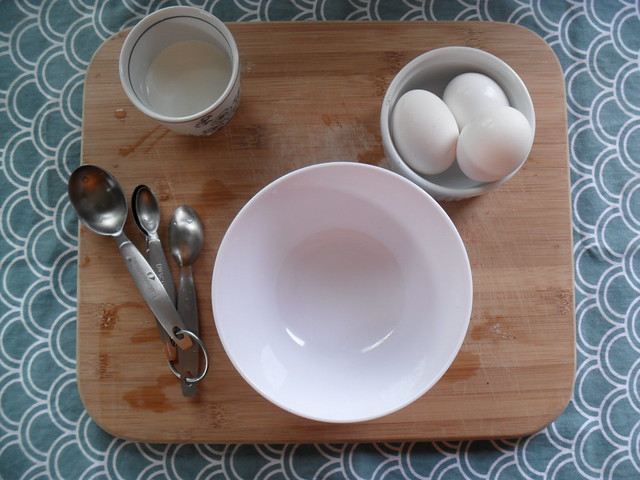
3 large eggs
1/4 cup heavy cream
4 oz. italian sausage and spinach ripieno
half of a roma tomato
pinch of salt and white pepper
olive oil
Chop your roma tomato and set to the side. Heat your portion of ripieno in the microwave for about 45 seconds.
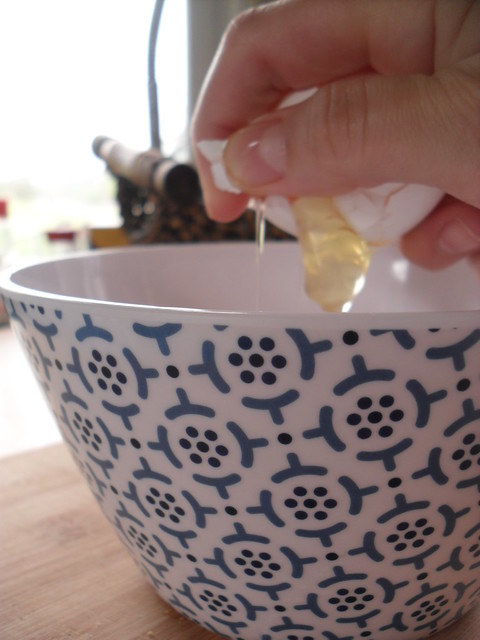
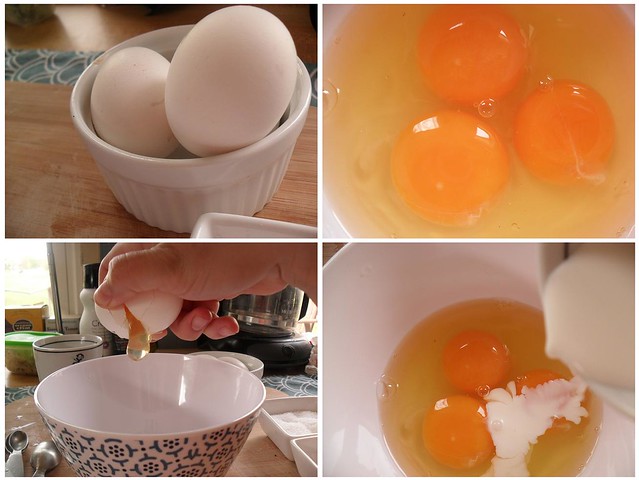
Break three eggs into a bowl with your cream and whisk together with some white pepper. Don't add the salt to the raw mixture, though; it begins breaking down the eggs. I would suggest using three eggs, but if you are looking for something a little lighter, you can always use just two. But if you decide to do that, you'll also need to lessen the amount of cream you use as well. You see, the key to a great fluffy omelet is to use high heat to cook it quick and low amounts of liquids so that the egg is able to cook up nice and airy.
The sauté pan that you'll want to use is going to be about 8 to 9 inches in diameter and have a non-stick or high polish finish. If you choose the high polish, no non-stick pan, you might want to season your pan. However, either will be fine. Have your sauté pan on medium-high heat with about 1/2 tbsp to 1 tbsp of olive oil to coat the pan completely, but not have too much resting on the bottom. Now, once the oil becomes thinner, it's time to pour in the eggs.
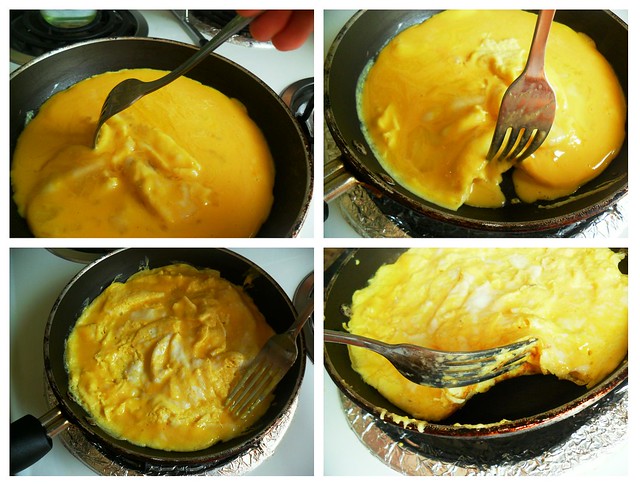
Now here comes the tricky part. You need to make sure to keep the eggs moving, first by slightly scrambling them in the center. After a few seconds, you will see that the edges are starting to cook up. Pull them towards the center of the pan, as to let the runny parts of the egg refill the space, cooking up the edges again. You’ll want the bottom of your eggs to look slightly golden while you are able to life them cleanly off the pan. Once that is achieved it’s time to broil! Hold your pan up to the coils, and allow to cook for about 45 seconds, or until no longer runny. It's good to have the eggs a little al dente on top, so make sure not to overcook.
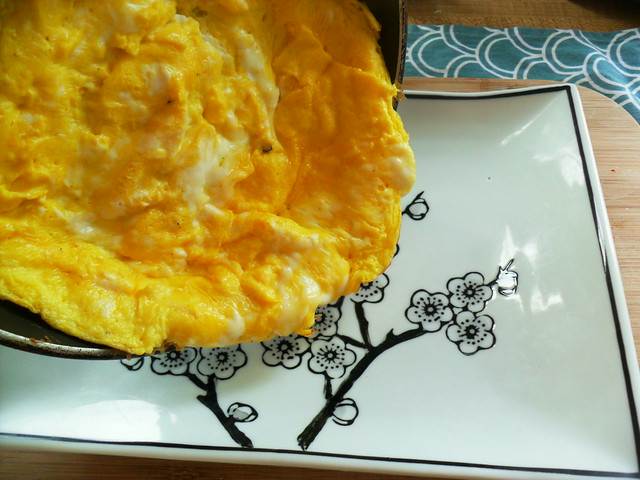
You should be able to slide the eggs right off into the plate!
Now, add your fillings...
Fold it up..
And voila!
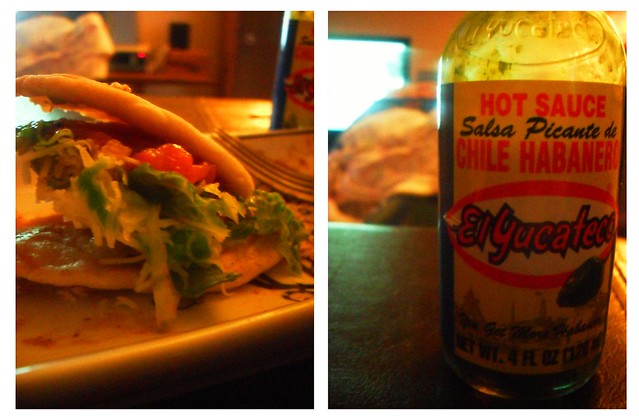
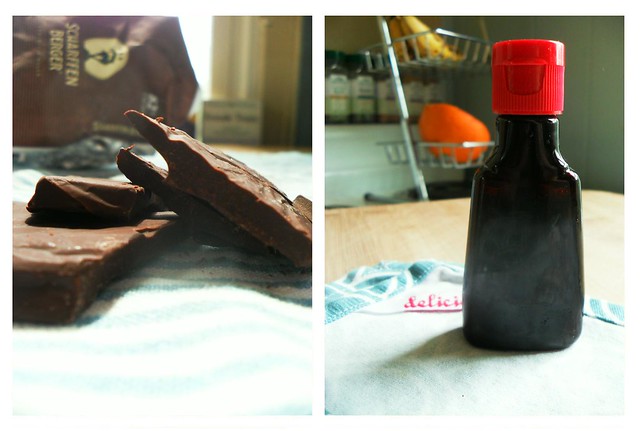
Amber and I put some Sriracha hot sauce on the side with our omelet which made for a delicious combo. If you’re a hot sauce fanatic like I am, I would suggest making this stuff a staple in your kitchen. You can find this Japanese hot sauce in just about any grocery or specialty store.
So, this being Amber's first time having one of my omelets, I was curious about what she thought.
And the end result?
I think the plate says it all.


